عادل فيرق
hiking shoes: a practical guide to fit, grip and buying well
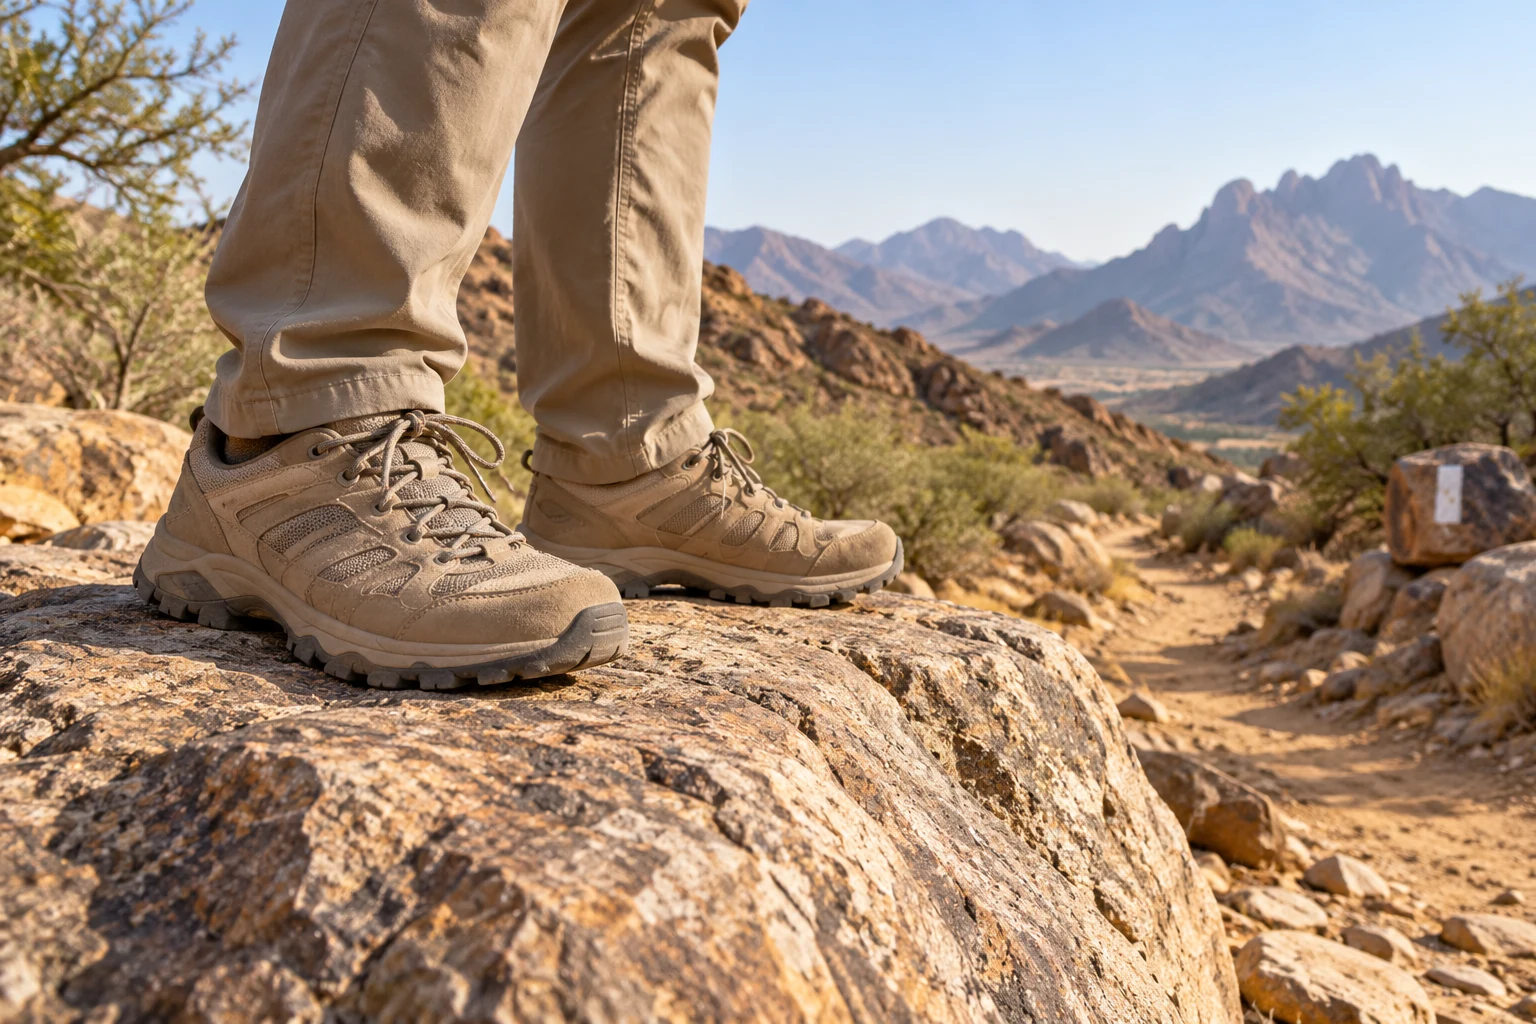
Choose hiking shoes by checking fit on both feet, matching the sole and construction to your intended terrain, and testing them with the socks you will actually wear. Price, ankle height and a waterproof label are useful comparison details, but none can compensate for a shoe that feels wrong when you walk downhill.
This guide explains how to compare hiking shoes for day trips in Saudi Arabia without assuming that every trail, foot or season requires the same hiking shoes. It focuses on a purchase you can test and understand. It does not promise that equipment prevents injuries, and it does not replace individual advice for persistent pain or an existing condition.
Before buying hiking shoes, browse Hike & Seek's current hiking trips and ask about the ground, expected walking time and required equipment. A description of the actual outing is more useful than preparing for an imagined expedition. Check the current programme rather than assuming that details from an older trip still apply to the date you want.
Describe the walk before comparing brands
Start your hiking shoes shortlist with a simple brief: the type of surface, how much you will carry, whether the route has sustained descents, and the likely weather. Keep this brief specific enough to reject unsuitable options. Someone planning a clear dirt path with a light daypack is making a different comparison from someone preparing for a rougher outing.
Do not judge the requirements for hiking shoes by distance alone. A shorter route over uneven stones can feel different from a longer, smoother path. The pace of the group, your familiarity with the terrain and the weight of water and extra layers also matter. Ask the organiser for clarification when a listing gives only a distance or an attractive photograph.
Buying the heaviest hiking shoes as insurance against every possible situation can create an unnecessary burden on ordinary walks. Consider protection, freedom of movement and comfort together. First decide which conditions you are genuinely preparing for; then compare the relevant models. Features that belong on a wish list do not automatically belong in the hiking shoes you use most often.
Compare low, mid and higher hiking shoes
Low-cut options
Low-cut hiking shoes leave more freedom around the ankle and may suit walkers who prefer that feeling on appropriate routes. Still check heel retention, toe protection and the shape of the forefoot. A low collar does not establish quality by itself. Equally, choosing a higher collar does not establish that the shoe fits your foot or matches the day's activity.
Mid and higher options
With higher hiking shoes, pay particular attention to the collar and tongue while you move. Bend gently, walk and use a safe test slope if the shop provides one. Notice whether an edge presses against your leg. Extra coverage is a design characteristic to evaluate, rather than a reason to accept discomfort and hope it will disappear on a long trail.
Footwear you already own
Your existing trainers may be comfortable, but that alone does not make them an equivalent choice to hiking shoes on every route. Check their condition, outsole and suitability against the organiser's equipment guidance. Sometimes you can avoid an unnecessary purchase; sometimes the planned terrain calls for something different. Make that decision from the actual circumstances, rather than a category name alone.
A comparison table for the shortlist
| Option | What to evaluate | Reason to reconsider |
|---|---|---|
| Low-cut hiking shoes | Heel stability, toe space and freedom of movement | Your foot moves excessively or the terrain requirements are different |
| Mid-cut hiking shoes | Collar comfort, weight and flexibility | The edge creates persistent pressure while walking |
| Higher hiking shoes | Overall fit and its intended use | You are accepting discomfort for a theoretical benefit |
| Existing trainers | Sole condition and the organiser's requirements | The tread is worn smooth or a different type is required |
Test the fit as a complete system
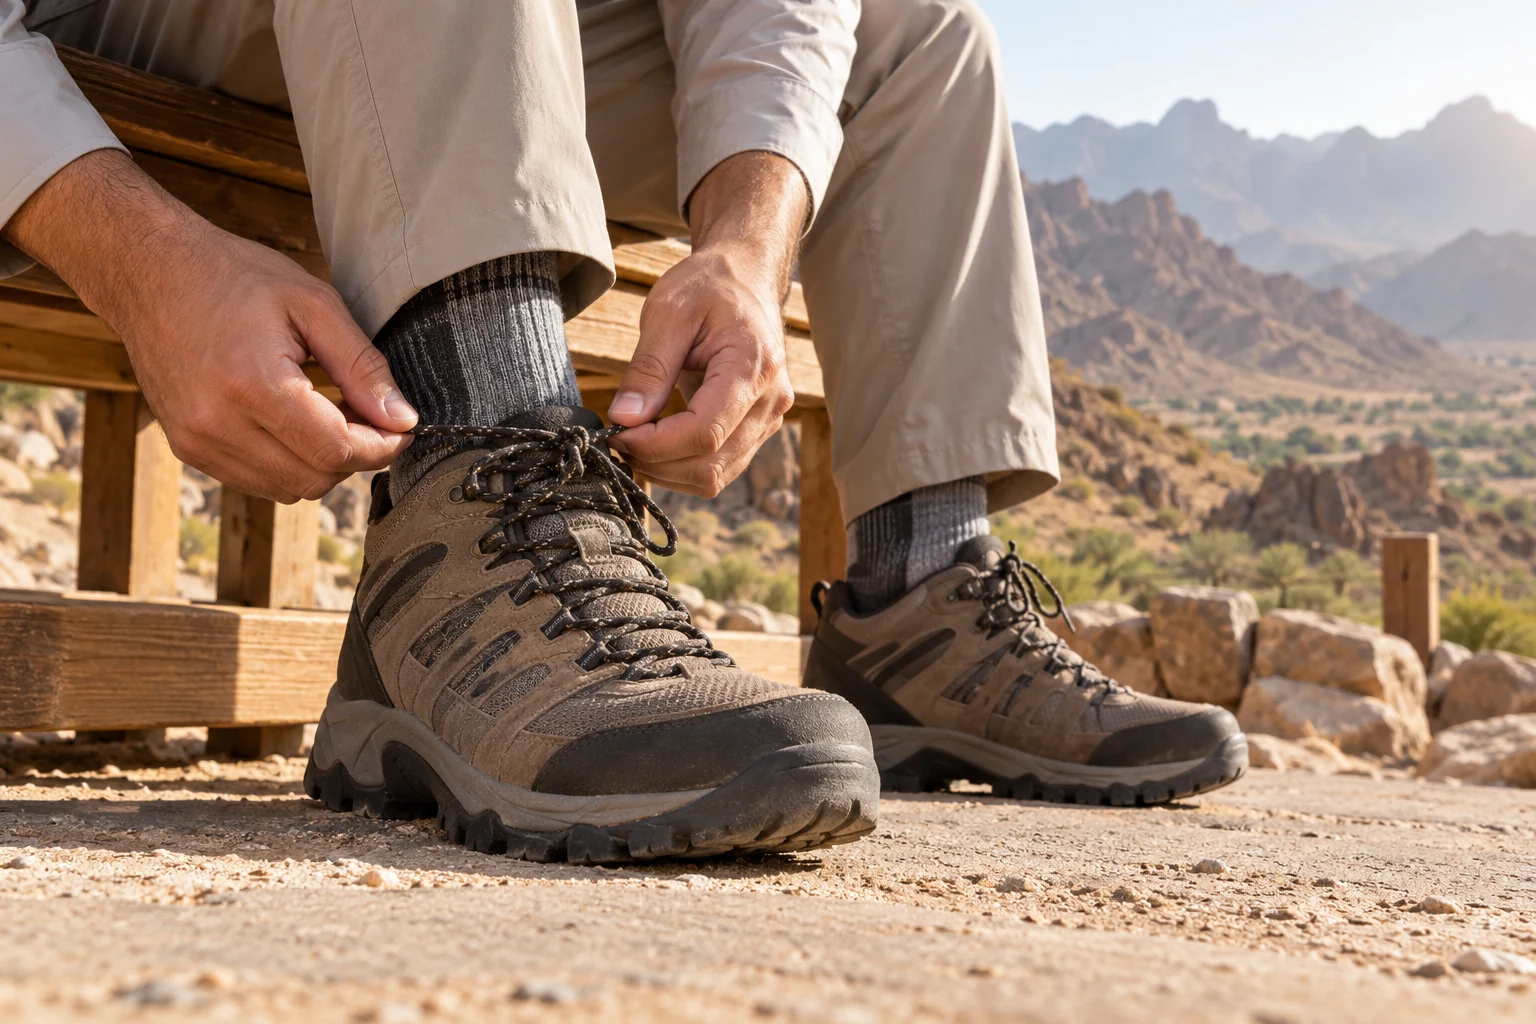
Try hiking shoes with the socks you intend to use. Different thicknesses change the space inside the shoe, so comparing models with different socks makes the result less useful. If you normally use an individually prescribed insert, bring it along. Discovering a conflict between your insert and the hiking shoes after an outdoor trial can make an otherwise avoidable purchase difficult to resolve.
Put hiking shoes on both feet rather than testing just one. Lace them as you would for a walk and spend time moving around. Your feet may respond differently to the same model. Make a short note about pressure or movement before trying the next pair; after several alternatives, it becomes easy to remember the colour better than the actual fit.
The size printed on hiking shoes is a starting point, not the result of the fitting process. Shapes and widths vary, including between models carrying the same nominal size. If the forefoot feels restricted, simply choosing a longer shoe may introduce a new problem at the heel. Ask for help assessing width and shape instead of treating every fit issue as a length issue.
Check what happens downhill
Use the shop's designated test ramp for hiking shoes when available, or ask whether there is a safe place to try a gentle descent. Notice if your foot slides forward or your toes strike the front. Avoid jumping or inventing a risky test. If the problem continues after reasonable lacing adjustments, compare a different size or shape before deciding to buy.
Pay attention to heel movement
Watch how the heel behaves inside hiking shoes as you take several steps. Tightening the laces excessively can hide movement while creating unwanted pressure elsewhere. You are looking for a usable balance: a stable foot, suitable space at the toes and adjustment that remains comfortable. A fitting that only works when the laces are painfully tight is not a convincing fitting.
Read the sole without overinterpreting it
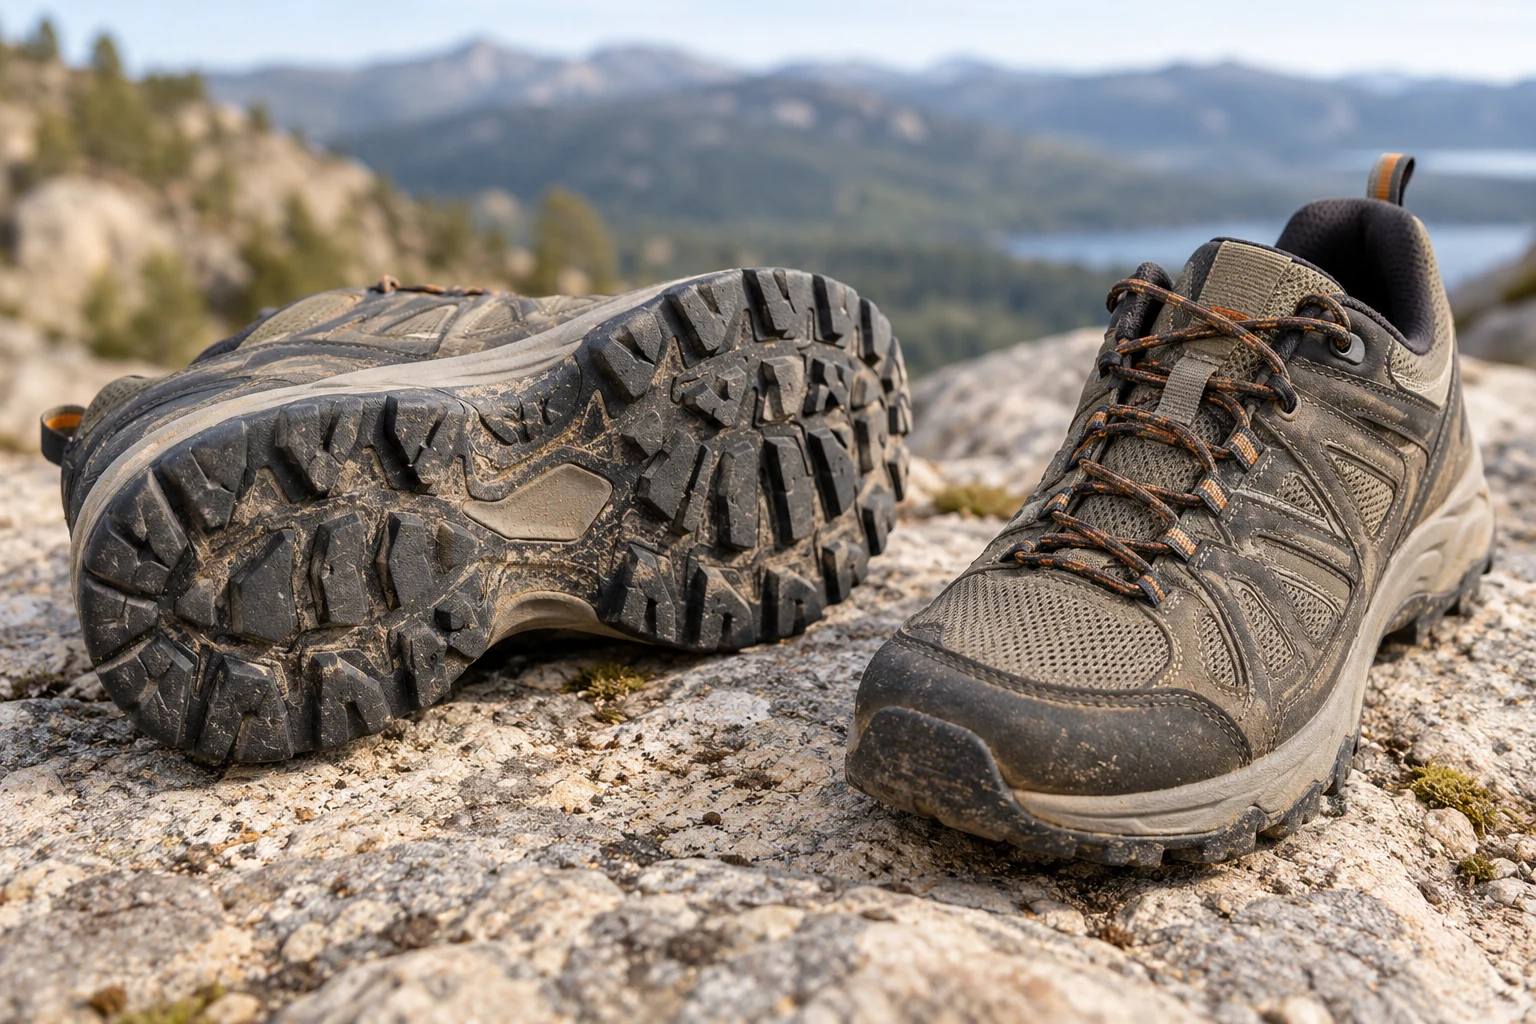
Turn hiking shoes over and look at the tread pattern, spacing and condition. Deep lugs alone do not prove that a sole will grip every surface. Material, the ground and your movement all contribute. No hiking shoes removes the need for care on polished rock, wet surfaces or unstable ground, and a good purchase should not become a reason to ignore route guidance.
Compare the flexibility of hiking shoes through actual walking, rather than relying entirely on bending them in your hands. Some walkers prefer more ground feel; others value a construction that feels more protective over stones. The useful question is how the shoe behaves through your own stride on its intended type of route. There is no requirement to like the same feel as another person.
Inspect the toe area, stitching and bonded sections of hiking shoes, and ask about the written care and warranty guidance. A protective toe feature may be useful around stones, but it does not justify a cramped fit. When an optional feature conflicts with a basic requirement, return to your shortlist priorities instead of letting an impressive specification take over the purchase.
Ventilation and water resistance
Saudi Arabia does not have one uniform outdoor climate, so compare hiking shoes for your destination and timing. A dry daytime outing and a higher-elevation walk with changing wind or temperature present different considerations. Review the current forecast and the organiser's instructions. A general statement about summer or winter cannot describe the ground and weather for every location across the country.
A waterproof description on hiking shoes is not permission to enter an unfamiliar stream or cross moving water. Product construction and the safety of a crossing are different questions. Water may also enter from above the collar. Read the manufacturer's information about the specific model and avoid turning a material feature into a claim that an activity is safe or appropriate for your experience.
For hiking shoes used mainly in dry conditions, compare ventilation, weight and drying requirements alongside water resistance. Do not assume all products using a particular material behave identically. Ask what the feature adds to your usual outings and whether it addresses a real need. This is a practical trade-off, rather than a contest to collect the largest number of technical labels.
If you are considering hiking shoes for a mountain outing, ask about surface conditions and any equipment requirements before booking. The organiser can clarify the activity; they cannot choose your size or diagnose discomfort. Keep those roles separate. Your own fitting experience remains essential, and persistent pain deserves an appropriate professional assessment instead of another generic equipment recommendation.
Socks, lacing and the store visit
Even suitable hiking shoes can feel different with a sock that bunches at the toes or a tongue that sits unevenly. Test the complete setup, including the sock seams and the lacing tension. Adjustments can improve a reasonably suitable fit, but they are not a guaranteed way to fix the wrong shape. Stop treating repeated pressure as a puzzle you must solve with tighter laces.
Check the returns policy for hiking shoes before paying, the difference between an indoor fitting and an outdoor test. Sale items may have different conditions. Ask for the written policy instead of assuming that any level of wear can be returned. Knowing the rules helps you test responsibly and decide what to do if the hiking shoes does not work as expected.
A fitting checklist
| Test | What to notice | Next step |
|---|---|---|
| Intended socks | Bunching, slipping or a changed fit | Correct the sock setup and reassess |
| Both feet | Different pressure on either side | Review width and shape as well as length |
| Safe descent | Toes contacting the front | Check lacing and size; reject a persistent problem |
| Continuous walking | A specific point of pressure | Compare another model rather than hoping it disappears |
| Purchase conditions | Unclear trial or return rules | Ask for the written terms before paying |
Test before the main trip
Give new hiking shoes a short, safe outing in a familiar setting before committing to a longer day. Different constructions do not need an identical calendar of preparation. The purpose is to understand the fit and identify problems early. Pay attention after the walk as well as during the first enthusiastic minutes, and keep any trial within the store's agreed conditions.
If hiking shoes remain uncomfortable, do not ignore the issue simply because your booking is close. Recheck the socks, lacing and load, and discuss the problem with the retailer while the relevant options remain available. Persistent pain or an injury calls for appropriate individual advice. This article cannot identify a medical cause or promise that changing hiking shoes will solve it.
Preparing hiking shoes is also a good moment to check the rest of the trip information. Contact Hike & Seek with the date you are considering and ask about the terrain, duration and equipment participants must bring. State if this will be your first experience on that type of ground. Clear expectations are more useful than buying extra equipment to compensate for an unclear programme.
An illustrative purchase decision
Imagine a walker comparing hiking shoes for day trips with a light pack and a mixture of dirt and occasional stones. One model is more expensive and higher around the ankle. Rather than selecting it automatically, the walker tests both feet, the intended socks and a safe descent. A model with an obvious fit problem leaves the shortlist regardless of its attractive specification.
In this hypothetical example, the second pair of hiking shoes feels more stable at the heel and offers suitable toe room. The walker checks its intended use and the retailer's trial conditions, then plans a short test before the main outing. This is not a customer story or a product endorsement. It illustrates an order of decisions that keeps price from substituting for fit.
Budget, discounts and second-hand options
Set a budget for hiking shoes that leaves room for any necessary socks and the actual cost of the trip. Separate essential requirements from optional features. Comparing two relevant models is often more productive than considering a large selection whose intended uses differ widely. A useful purchase is something you can fit, test and maintain, rather than the most elaborate item you can afford.
Discounted hiking shoes deserve the same fitting process as full-price alternatives. A limited offer does not make a cramped shoe economical if you soon need a replacement. Check the available size, the condition and any sale-specific return terms. If a deadline is driving the decision more than the test results, step back and compare the real cost of buying the wrong hiking shoes.
Do not assess used hiking shoes from attractive photographs alone. Look at tread wear, lining, shape and bonded areas, and ask about use and storage. A visual check cannot reveal every hidden issue. Weigh that uncertainty against the saving, especially if you cannot try the hiking shoes. No general guide can establish the condition of a particular second-hand pair without a meaningful inspection.
Priorities before payment
| Priority | Why it matters | What cannot replace it |
|---|---|---|
| Fit on both feet | It shapes the experience of every step | A famous logo or a large discount |
| Intended terrain | Routes and loads differ | A vague description of adventure performance |
| A useful trial | Walking reveals more than standing still | Other people's ratings alone |
| Clear purchase terms | You understand returns and support | An unclear verbal promise |
| Manageable care | You can maintain the actual model | An unsuitable cleaning product |
Cleaning, storage and the next outing
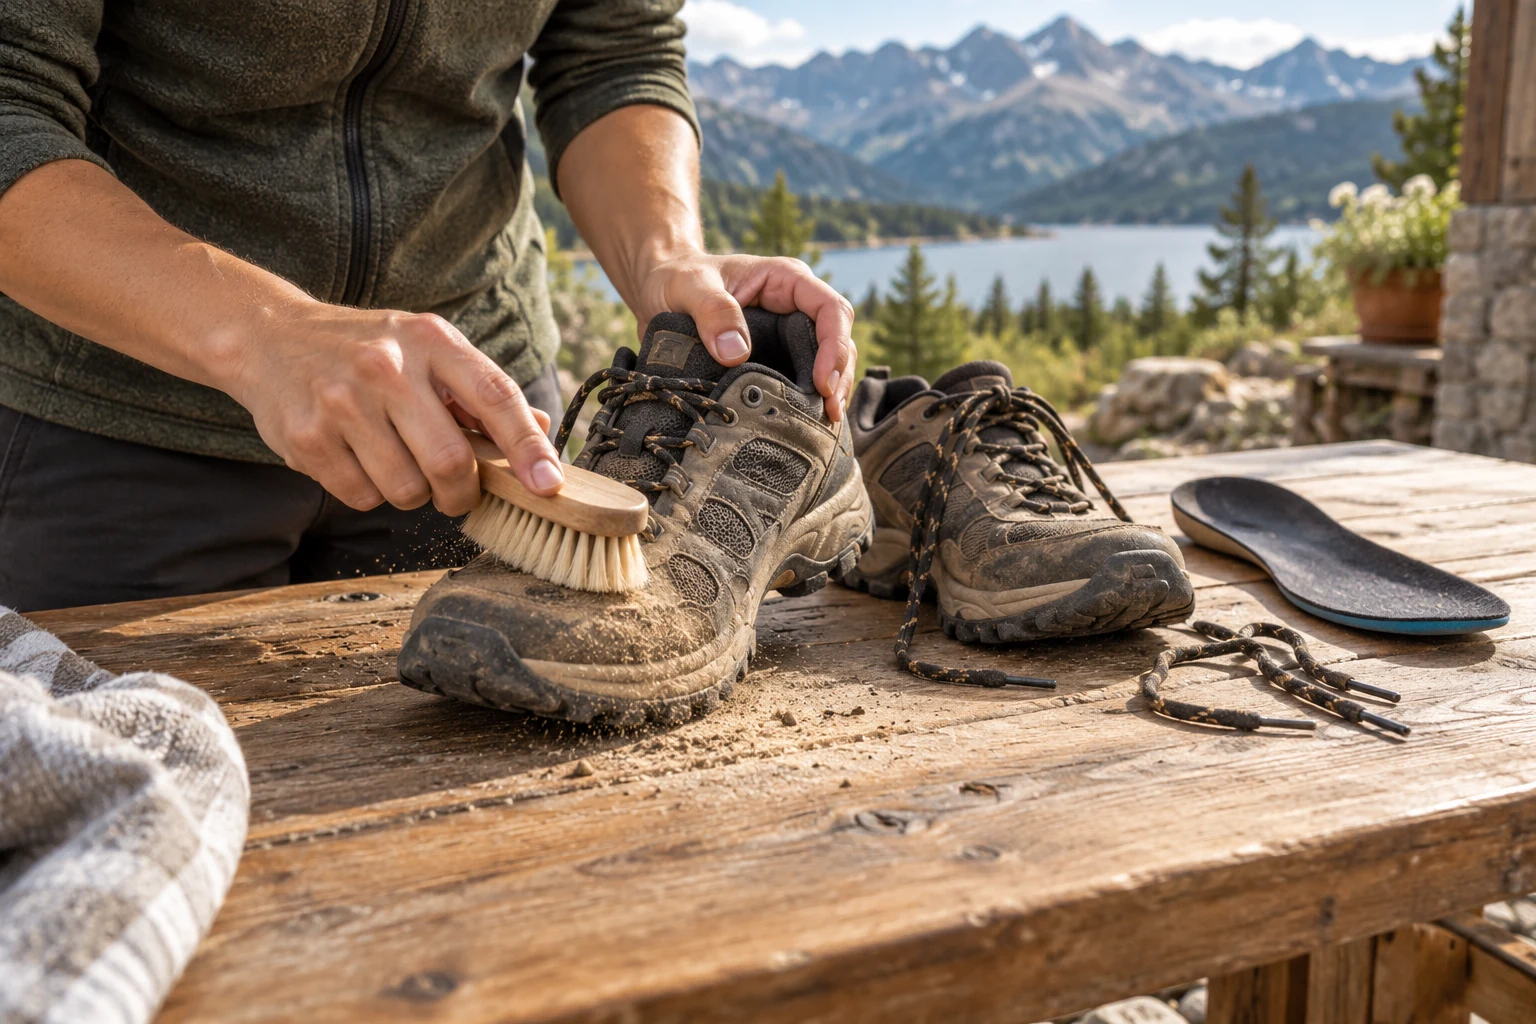
Clean hiking shoes according to the instructions for the specific model. Avoid direct heat or strong cleaning products based solely on a general tip. Different uppers, adhesives and finishes can have different care requirements. Manufacturer guidance is a better starting point than assuming that a method used successfully on another person's hiking shoes is suitable for everything in your own equipment cupboard.
Let hiking shoes dry as directed before storage and inspect the sole, lining and laces between outings. Do not assign every pair a fixed replacement date. Usage, surfaces and storage differ. The practical aim is to notice a change in condition before the next activity and decide whether the manufacturer or retailer should assess it, rather than relying only on the purchase date.
Check hiking shoes early enough before departure to address a visible issue. Discovering a damaged lace or a separating sole at the meeting point leaves fewer options. Prepare the setup you have actually tested. Avoid switching to unfamiliar hiking shoes for the main outing merely because it looks more technical, more fashionable or more appropriate for the photographs you hope to take.
Frequently asked questions
Should I automatically buy a larger size?
No fixed sizing rule makes hiking shoes suitable for everyone. Test both feet with the intended socks and check what happens on a safe descent. If the problem is width or shape, extra length can introduce movement instead of resolving it. Ask for fitting help and compare another design when a reasonable adjustment does not produce a comfortable result.
Are higher collars always better?
The collar height of hiking shoes is not a ranking of quality. Evaluate movement, pressure, weight and intended use together. A design that another walker likes may not suit you. Do not accept discomfort on the assumption that extra height guarantees protection; equipment supports careful choices but does not remove terrain risks or replace appropriate judgement.
Do I need a waterproof model?
Choose that feature in hiking shoes by considering the conditions you are actually preparing for. Read the model's description and compare ventilation and care as well. Water resistance does not establish the safety of a stream crossing. It should be a considered feature on a relevant shortlist, rather than an automatic requirement for every dry-weather day walk.
Can I use a new pair straight away?
Test hiking shoes in a short, familiar setting before your main outing. The aim is to find fit, sock or lacing problems when you still have options. There is no universal number of preparation days for every construction. Persistent discomfort is a reason to reassess, rather than evidence that you must keep walking until the hiking shoes changes.
Are online reviews enough to choose?
Reviews of hiking shoes can help you identify questions about cleaning, durability or fit tendencies, but they describe other people's feet and conditions. Use them to inform a trial, not to replace one. Read current specifications too, because a familiar product name may continue across revisions whose details differ from the version described in an older review.
When should I inspect the condition?
Check hiking shoes before each trip and after cleaning, looking for changes in tread, lining, laces and bonded sections. Do not rely on age alone. If something looks wrong, consult the manufacturer's guidance or the retailer before another outing. An article cannot certify that a particular pair remains usable or that a visible defect is merely cosmetic.
Does Hike & Seek supply hiking shoes?
Do not assume hiking shoes are included or available to rent unless the current trip information or team confirms it. Ask what the booking includes and what participants must bring. This guide explains a selection process; it is not a footwear shop listing or a promise of an equipment service that has not been confirmed for your chosen programme.
What should I ask before booking?
Ask about the surface and required hiking shoes, then clarify distance, expected duration and the return arrangements. These details make equipment choices more grounded. If you have a health concern or persistent pain, discuss the suitability of the activity with an appropriate professional. A general route description cannot replace an individual assessment of your circumstances.
Match the equipment to your next experience
Start with the trip, fit your hiking shoes carefully, and test the full setup before departure. Explore Hike & Seek's current hiking options or contact the team with your preferred date and experience level. Ask for the route's requirements and the exact booking inclusions, then make a purchase that supports that specific plan instead of choosing equipment in isolation.