 عادل فيرق
Choose a hiking daypack by establishing what you actually need to carry, trying the fit with a representative load, and checking access to frequently used items. Capacity is part of that decision, but it cannot establish comfort or organisation by itself. A hiking daypack with appealing pockets still needs to work when you move, stop, remove a layer and put it back.
A hiking daypack spends part of the outing on your back and part of it being handled during breaks and transport. Consider those transitions as well as the walking. A purchase based entirely on a front photograph can overlook an awkward opening, straps that are difficult to manage or a bottle pocket that does not hold your particular bottle securely.
Before buying a hiking daypack, browse Hike & Seek’s current hiking trips and ask for the equipment requirements of the exact programme. Compare those requirements with what you already own. This guide helps you prepare and compare equipment; it does not imply that a hiking daypack, a rental service or personal equipment is included in a booking.
Put the contents together before choosing capacity
Start your hiking daypack comparison with a real packing list on a clear surface at home. Gather the water required for the programme, appropriate extra clothing, personal food and the other items participants are asked to carry. Separate required equipment from optional additions. Looking at the collection together is more useful than guessing its volume from individual online product descriptions.
Leave room in your hiking daypack for things that change position during the day. A layer worn in the morning may need to be packed later, and wrappers should come back with you in an appropriate separate bag. A tightly compressed arrangement that only closes once at home may become inconvenient after the first ordinary stop. Practise unpacking and repacking rather than judging the initial photograph.
The litre figure on a hiking daypack helps narrow a shortlist, but shape also matters. Tall bottles, a broad food container and a bulky jacket occupy space differently. External pockets are not equivalent to enclosed internal storage for every item. Test the actual collection and its arrangement before treating two products with the same stated volume as interchangeable.
Keep required equipment on the list
If the requirements do not fit in your hiking daypack, investigate before removing something essential. You may need to reorganise, reduce optional extras or try another design. Ask about any unclear requirement. Do not reduce the required water or omit specified equipment simply to retain the appearance of a small hiking daypack in photographs.
Agree who is carrying shared items instead of assuming that another participant will bring them. Write down the arrangement and revisit it if the group changes. Two people can arrive with neatly packed bags while each believes that the other has a particular item. Shared preparation works better when responsibility is explicit and personal requirements remain understood.
| What to compare | A practical trial | A reason to reconsider |
|---|---|---|
| Internal capacity | Pack the required collection together | The zip needs force to close |
| Main opening | Remove and replace the largest item | Most belongings must come out first |
| External pockets | Try the bottle or object intended for them | The item shifts or projects awkwardly |
| Spare room | Repack a layer after taking it out | There is no sensible place for it |
| Everyday access | Identify water and frequently used belongings | Each stop starts another search |
Establish hiking daypack fit through a loaded trial
Check hiking daypack sizing against the exact model’s instructions. REI identifies torso length as a key fit consideration rather than overall height alone. Size names and adjustment ranges vary between designs. A medium in one range does not prove that another medium fits, and a friend’s successful purchase does not establish your own fit.
Try the hiking daypack with clothing similar to what you expect to wear and a load representing your equipment. An empty hiking daypack can hide how the loaded shape sits against your back. Ask someone familiar with the product to explain its adjustment, then repeat the process yourself. You need to understand the controls when clothing or packing changes later.
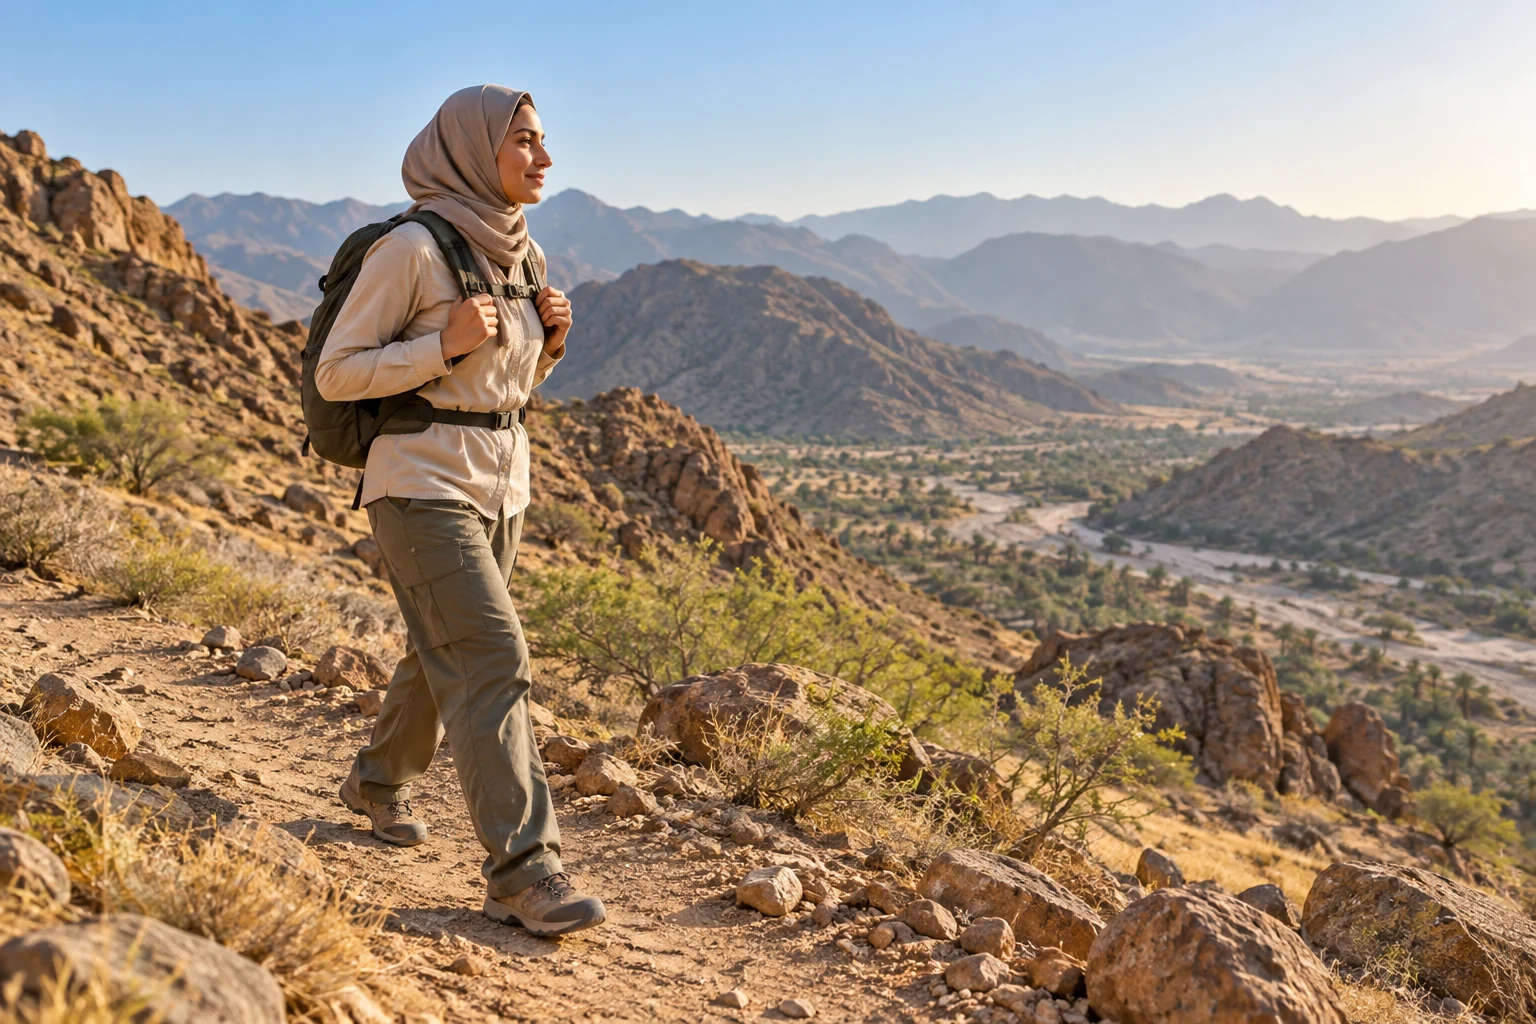
Walk calmly, turn and sit where the shop or trial space permits. Notice how the hiking daypack settles and whether a persistent pressure point remains. An acceptable fit should not depend on painful tightening or holding your shoulders in an unnatural position. If suitable adjustment does not resolve the issue, compare another size or design before buying more accessories.
Understand the straps you are adjusting
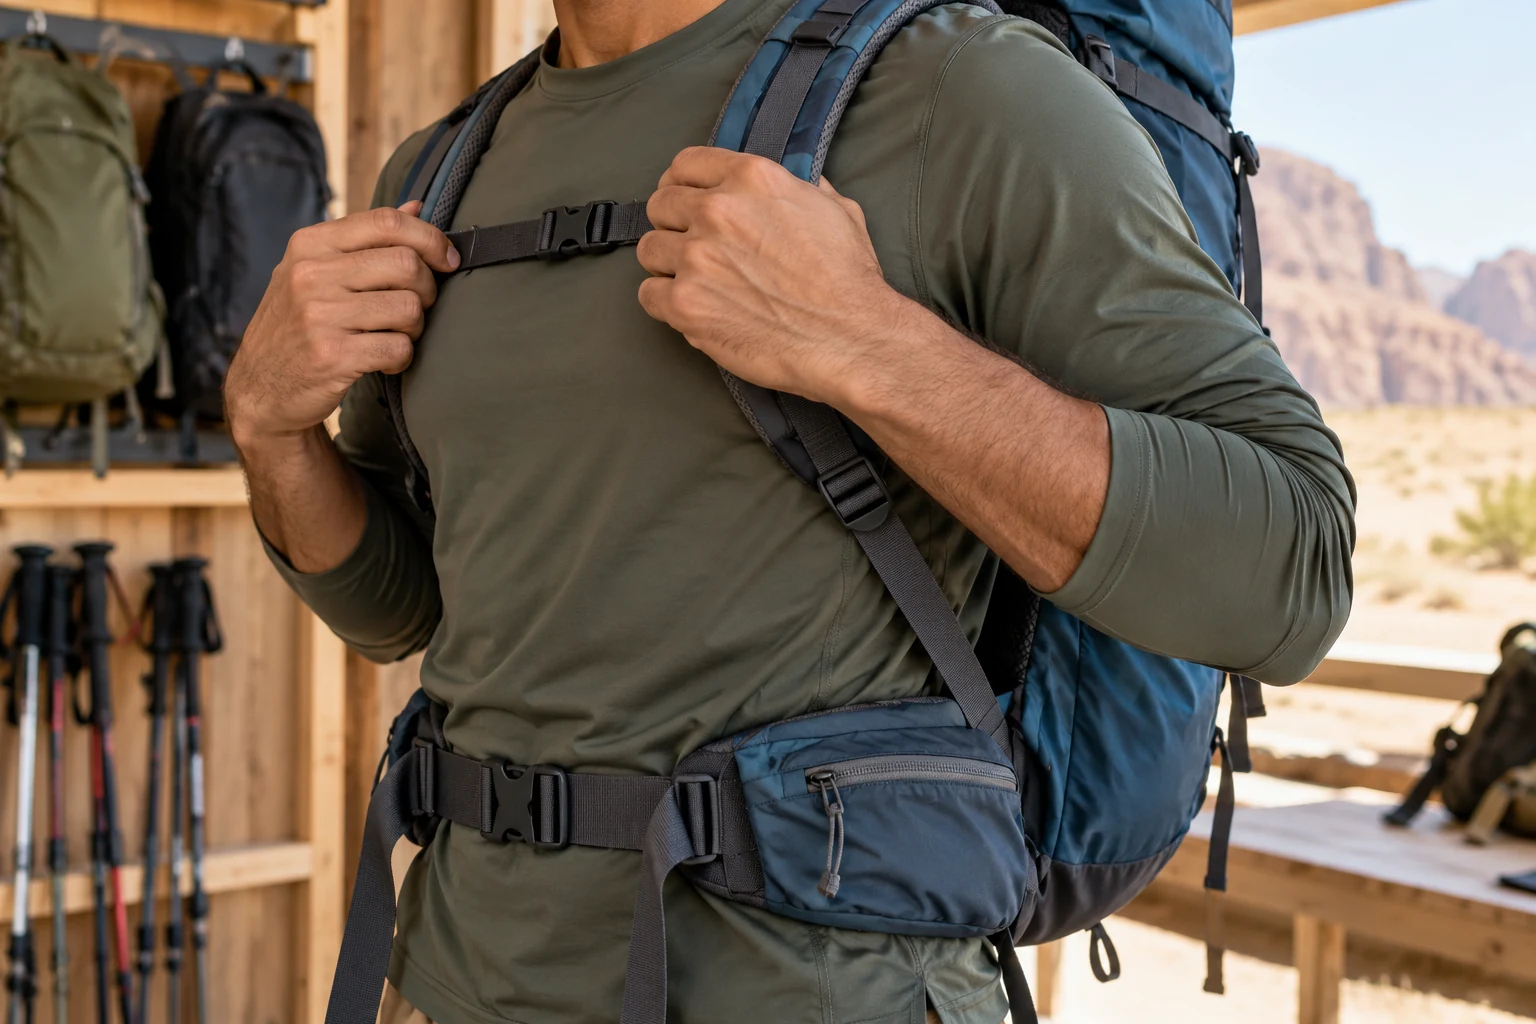
A thin waist strap on a hiking daypack may serve a different purpose from the padded load-bearing hipbelt on a larger framed pack. Ask what the specific component is designed to do. Do not assume that every strap around the middle transfers weight in the same way, or that a feature on another model behaves identically.
Many designs include a chest strap that helps organise the shoulder straps. Follow the instructions and check that your arms move freely and breathing feels normal. More tension is not automatically a better adjustment. Learn to open the buckles and return to a usable setting, rather than depending on someone else to arrange everything each time.
If two people will share the hiking daypack on different outings, test each person separately. Adjustable features can make sharing more convenient, but they do not guarantee a suitable range for every user. Retain enough adjustment for the other person and avoid irreversible changes to straps merely to tidy up your own setting.
Arrange hiking daypack contents for stability and access
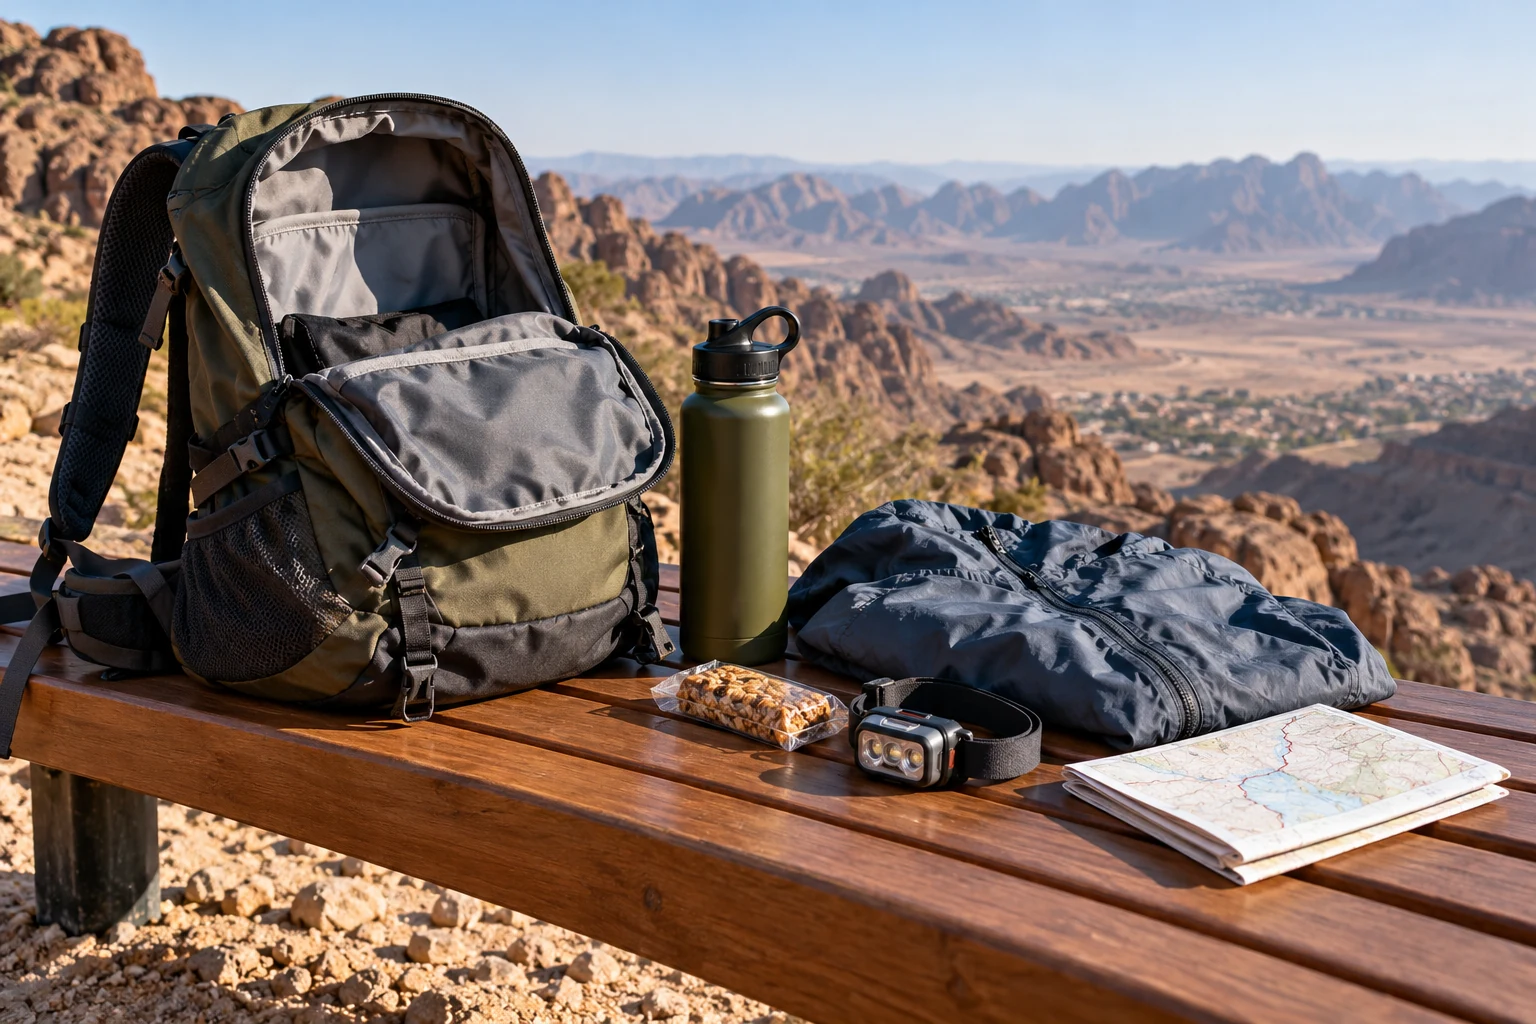
Organise the hiking daypack around stability, protection and frequency of use. Put frequently needed belongings in a known position and keep small objects together where they will not disappear into the base. Aim for a system you can restore after a break. An arrangement that stays organised through ordinary use is more useful than an elaborate display that only works while everything is untouched.
Use bottle pockets or a reservoir compartment according to the hiking daypack design. Check that the container is secure when you move and that closures are properly engaged. If using a hydration reservoir, learn its filling, fitting and cleaning instructions from the manufacturer. Investigate a leak before placing it alongside sensitive belongings, rather than treating a small amount of moisture as inevitable.
Changing the position of dense items can change how a hiking daypack feels without changing its total weight. Keep them stable and close to the back where the design permits, while protecting anything that could be damaged by pressure. Avoid making the edge of a hard object the main contact point against your body. Repacking deserves a trial before adding padding to disguise a poor arrangement.
Use a few functional groups
A simple hiking daypack system might distinguish items used while moving, items opened during a break and belongings needing protection from spills. You do not need a large collection of organisers to create those groups. Choose an arrangement suited to the objects you actually carry. The organisation equipment should not become a substantial additional load without a clear benefit.
Keep personal belongings identifiable without exposing sensitive information on the outside. Follow the prescribed storage instructions for any personal medication, including temperature requirements, rather than selecting a pocket only because it is easy to reach. This is a packing guide, not medical advice or a recommended medicine list. Individual requirements need their own appropriate instructions.
When preparing your hiking daypack, Contact Hike & Seek with a specific question about the programme’s equipment list or shared items. Include the trip and date so the team can answer about the actual outing. Programme information can clarify what to carry; product fitting remains a separate practical task with the retailer or another person qualified to help.
| Contents group | A position to consider | What to establish |
|---|---|---|
| Water | A designed compartment or secure pocket | The container stays stable and is accessible |
| Additional clothing | An opening usable during a break | The layer can be packed again easily |
| Small belongings | A recognisable organiser or pocket | They do not fall out with another item |
| Electronics | Appropriate internal spill protection | Fabric marketing alone is not the protection plan |
| Personal rubbish | A separate suitably closed bag | It does not contaminate the other contents |
Try hiking daypack handling before departure day
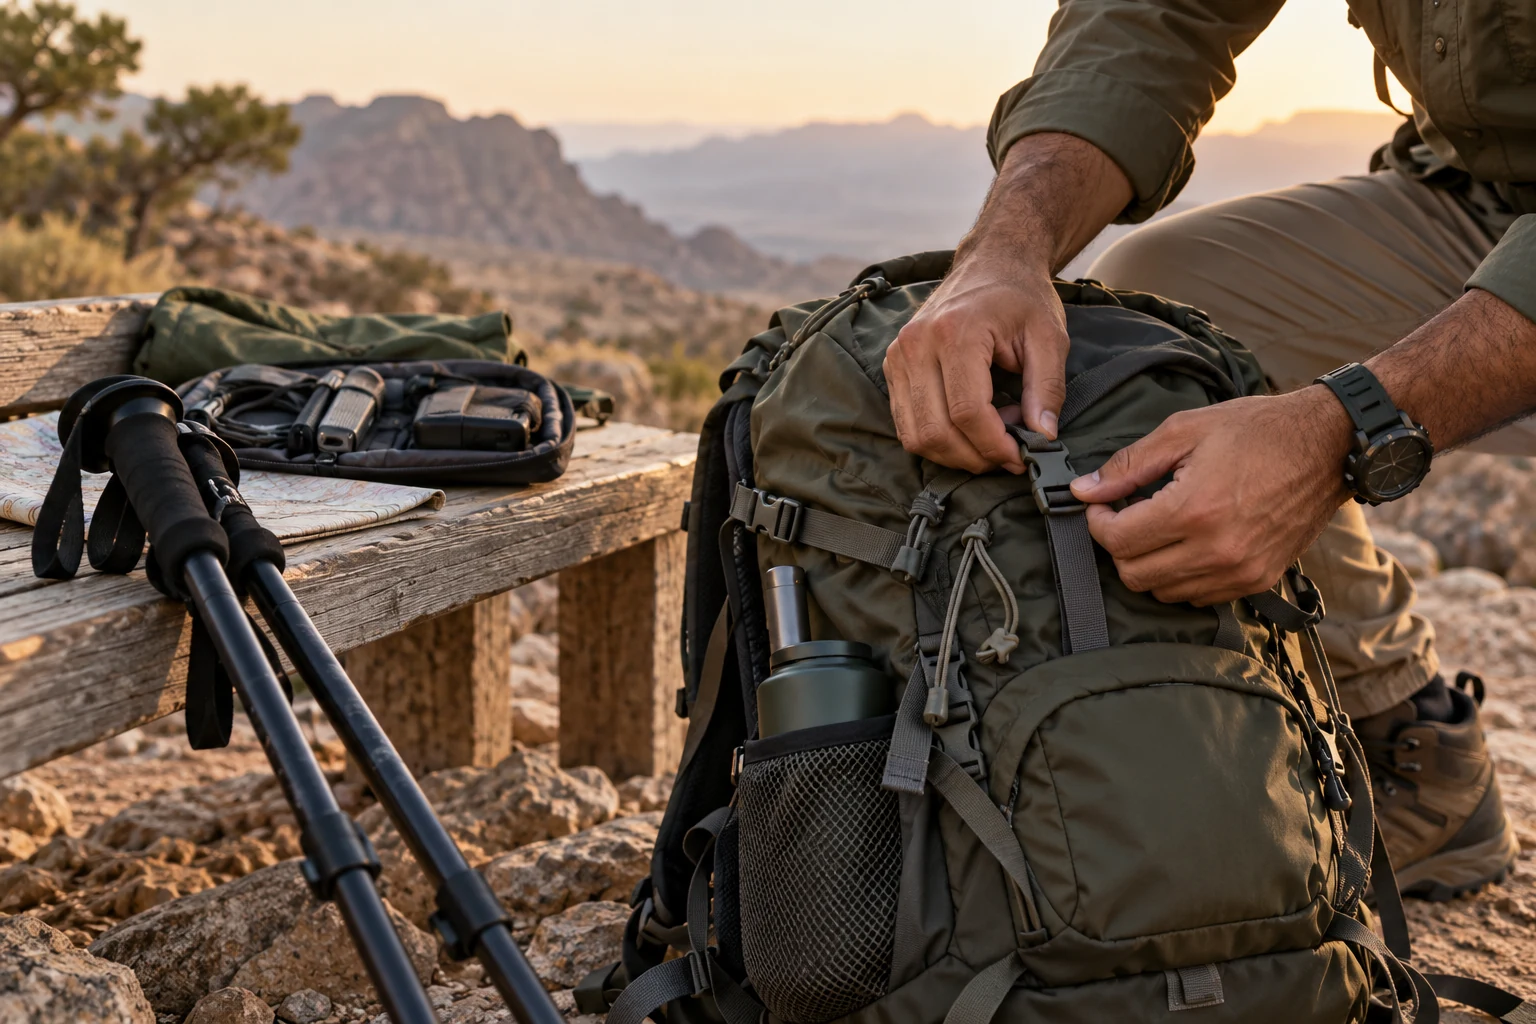
Give your hiking daypack a realistic trial early enough to change the setup. Pack the actual collection, wear it in an appropriate familiar place and include ordinary interruptions. Take out an item, return it, remove the hiking daypack and put it on again. Notice what moves, presses or requires unnecessary unpacking. Standing still in front of a mirror cannot reveal every handling issue.
A hiking daypack trial does not require jumping, extreme loading or a remote route. Stay within the product’s instructions and choose calm movements that resemble normal use. The purpose is to discover an inconvenient opening or unstable object while you still have time to respond. A dramatic test is less useful than repeatable observations about the arrangement you intend to take.
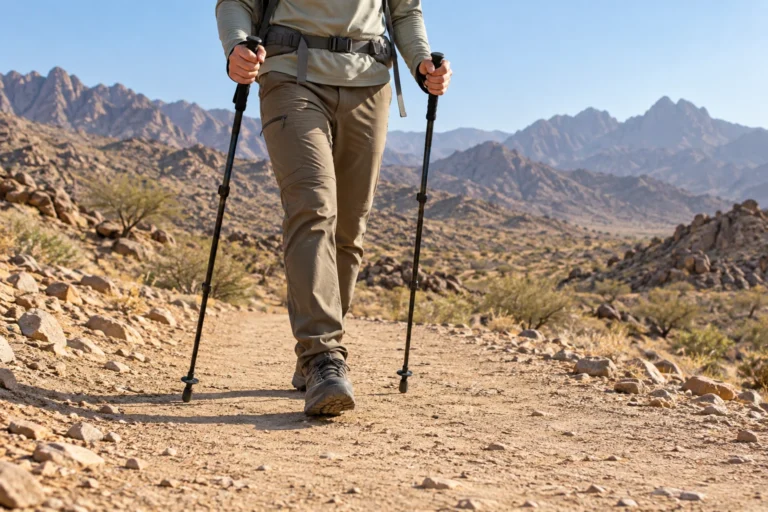
Check your hiking daypack alongside other equipment too. If it has appropriate pole attachments, practise using them with the poles you actually own. Look for loose ends and awkward projections. Confirm that compression straps do not block a pocket you expect to open often. Testing each purchase separately can miss conflicts that only appear when the whole set is assembled.
Describe a problem precisely
Write that the bottle shifts in the right pocket when you turn, rather than recording only that the hiking daypack feels wrong. A specific observation suggests a useful comparison: another bottle, an approved adjustment or a different pocket design. If the issue concerns the basic back length, more organisation accessories may not address it. Preserve the distinction between fit and packing.
If you lend your hiking daypack to someone, explain known issues and provide the product instructions. Let that person establish their own settings. Your comfortable arrangement is not a universal recommendation, and a different load can change the experience again. Tell them about an unresolved fault before lending rather than leaving unusual movement to be interpreted as unfamiliarity.
Check hiking daypack transport, protection and care
Consider how the hiking daypack will travel to the meeting point. Depending on the actual transport arrangements, loose straps may need containing and external items may need organising differently. Ask what applies instead of assuming that every personal hiking daypack stays beside its owner throughout the journey. Decide which belongings you need during transport before packing them into luggage that may be less accessible.
Weather protection for a hiking daypack is not established by one broad marketing word. A rain cover, water-resistant fabric, zips and internal protective bags have different roles and limitations. Read the actual product description and protect sensitive contents appropriately. Do not interpret resistance to splashes as approval for immersion or a guarantee against every possible rain condition.
After the outing, empty the hiking daypack and check easily forgotten pockets. Remove food remains and damp belongings. Follow the manufacturer’s cleaning, drying and storage instructions instead of guessing with strong cleaning products or high heat. Retain the model details so a future question about a zip, buckle or replacement component can identify the actual construction.
Inspect the parts that hold and close the load
Before packing your hiking daypack again, look at stitching, attachment points, buckles and zips. Try the closures without forcing them over excessive contents. If a persistent snag or damage near a carrying point remains, ask for appropriate service advice before relying on it on an outing. A clear description, model number and photograph help explain the problem more effectively than an unidentified complaint.
Do not assume that every small loop on a hiking daypack is designed to support the entire loaded hiking daypack. Likewise, hanging another heavy object outside is not an automatic solution to insufficient capacity. Read the relevant instructions and review the amount of equipment and its placement. An extra strap cannot establish that an attachment point is intended for a particular load.
If you carry a camera, include taking it out and returning it in your trial. Keep other belongings from falling out as you open the compartment. Decide which accessories you genuinely expect to use on this programme, rather than automatically packing everything from a different photography outing. A useful personal preference should still fit the group’s actual activity.
For online purchases, read the written return conditions before removing labels or using the product outside. Check the model identification and the precise size offered. Where the photographs and specification table disagree, request clarification before paying online instead of assuming that either description applies to every version in the range.
Compare hiking daypack purchases through concrete examples
Imagine a participant whose hiking daypack holds the required equipment and fits comfortably, but makes the extra jacket difficult to reach. They rearrange the contents before ordering another hiking daypack. If the access problem disappears and the loaded trial remains comfortable, organisation may have been the issue. This is a hypothetical decision example, not a customer account or an endorsement of a particular product.
In another hypothetical example, the hiking daypack has enough space but still fits poorly after suitable adjustment. Extra pockets, a preferred colour or a discount do not resolve that basic problem. The participant compares another size with the same load. Keeping the trial reasonably consistent makes the comparison useful instead of judging one product empty and another fully packed.
Set a hiking daypack budget around expected use, included accessories and written purchase terms. This guide does not invent a price range, a universal warranty or a fixed replacement age. Ask what is supplied in the box and retain the model information. Using an existing hiking daypack in good condition may be a sensible outcome when it meets the actual requirements and passes your fit and handling checks.
| Trial result | A useful next step | An insufficient reason alone |
|---|---|---|
| Required equipment fits and the size works | Test movement and organisation | Wanting a different colour |
| Access is awkward despite enough space | Repack and repeat the trial | Immediately ordering more pockets |
| Pressure persists after appropriate adjustment | Compare another size or design | Tightening the same straps further |
| Requirements do not fit without omissions | Review capacity, shape and the list | Leaving required equipment behind |
| A zip or carrying point is damaged | Seek appropriate service advice | Concealing the fault with improvised ties |
Frequently asked questions about a hiking daypack
Can I use an ordinary hiking daypack I already own?
It may be suitable if it holds the requirements, remains stable and comfortable, and provides appropriate access and protection. Trial the existing bag as a hiking daypack with your actual contents. Ownership does not prove suitability, but the absence of a particular marketing label does not by itself establish that a new purchase is necessary.
How many litres should I choose?
Start with the required collection and compare a hiking daypack that holds it sensibly. The volume figure helps create a shortlist, but it does not describe your torso, bottle shape or the main opening. There is no single capacity that suits every day outing. Use the programme requirements, expected conditions and personal belongings to decide what must fit.
Is overall height enough to select a size?
Do not use height alone to choose a hiking daypack. Check the exact model’s torso sizing guidance and try it with an appropriate load. People of the same overall height may have different proportions, and size names vary between manufacturers. Ask for fitting help when the adjustment remains unclear rather than copying a friend’s settings.
Does a rain cover make everything waterproof?
Do not assume that a hiking daypack becomes completely waterproof because it has a cover. Read the limitations of the cover and the hiking daypack construction, then protect sensitive belongings appropriately inside. Water resistance is not the same as approval for immersion. The whole arrangement and its instructions matter more than an isolated feature name.
Should everything go in external pockets?
Use the hiking daypack pockets according to their intended role and check that objects remain secure. Putting everything outside can increase unwanted movement and exposure, and it does not automatically solve a capacity issue. Try turning and handling the loaded hiking daypack. Frequently used belongings should be accessible without creating awkward hanging objects for you or nearby participants.
How can I distinguish packing trouble from poor fit?
Repack the hiking daypack with the same contents and repeat a calm trial after suitable adjustment. A pressure point caused by a hard object may change with its position. A persistent sizing problem deserves another fit comparison. This is general equipment preparation; pain or an individual health concern requires appropriate advice rather than a diagnosis from a packing guide.
Is a hiking daypack included in a Hike & Seek booking?
Do not assume that a hiking daypack or other personal equipment is supplied without confirmation. Read the current programme details and ask what participants must bring. This article explains preparation and does not advertise an unconfirmed equipment or rental service. Establish the arrangements for the exact booking instead of relying on what another group received.
What should I check immediately before leaving?
Close the hiking daypack after packing the actual list, inspect straps and closures, and confirm that containers are stable. Identify the frequently used items and check that small belongings are not still in another hiking daypack. Review the meeting and transport instructions as well. A previous outing’s arrangements should not substitute for the information about this one.
Prepare around a programme you understand
Choose the outing first, then match your hiking daypack to its requirements and your own fit and handling trial. Explore the current programmes and contact the team about any unclear equipment requirement before buying. With a verified list and a practised arrangement, you can arrive knowing what you carry, where it belongs and which responsibilities remain yours.